# Type at least 1 character to search # Hit enter to search or ESC to close
Our studio will close for the holidays on 13 December. The last day to place orders for processing this year is the 09 December. However, you are still welcome to place your order any time and we will process it as soon as we return on 8 Jan 2025. This way you will be ahead of the queue next year. Happy Holidays! ♡♡♡
PS: Our popular gift cards are available at any time.
Welcome to my Blog. This a place to share and learn all things embroidery. Here I post inspirational stories and free lessons in the form of tutorials and guides. I also share tips, tricks and teach stitches and techniques.
You will also find free patterns and designs for you to unlock your creativity. It is a great place for any creative looking to learn or find inspiration in this art form.
To stay in the loop with Dicraft you can subscribe to my newsletter and stay in touch on Instagram and Facebook.
Browse by Category
Recent Posts
- December 2024
- November 2024
Browse By Category:
Latest Posts:
How to make Corn Poppies
How to make a Corn Poppy (Papaver rhoeas) Good Morning, Goeie more, HOWDY, Buon Giorno, Bonjour, Guten Morgen, Selamat Pagi, Buenos Dias, God Morgen, Dobroye utro, Boker tov, kunjhani, Buenos Días, Wilujeng Enjing, Günaydin, Umhlala gahle, Bom Dia, добро утр-dobro utro, Dobro jutro, G 'day, Góðan daginn, בוקר טוב!!!, Hyvää huomenta, Dzień Dobry, Sugeng Enjing, Cao An, Ohayo Gozaimasu, Labas Rytas, Bună Dimineaţa, ДОБЪР ДЕН, sanibonani,...
Long and short Buttonhole stitch
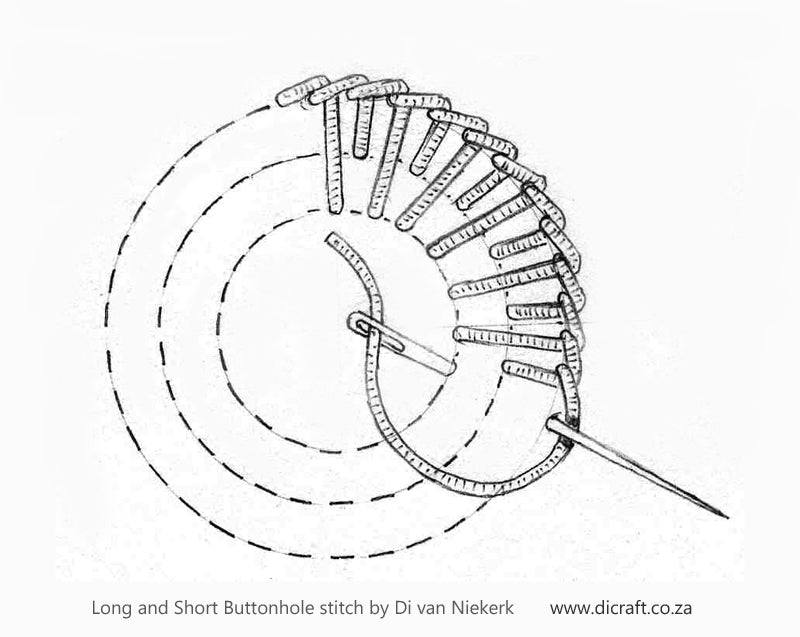
Long and short buttonhole stitch This stitch is ideal for stumpwork leaves and shapes. It forms a smooth, raised edge which allows the shape to be cut out quite safely. . . Fill in the empty spaces with long and short stitch. . . ..and here is the same stitch when making a leaf. . . Enjoy! Love Di ♥
Padded satin stitch
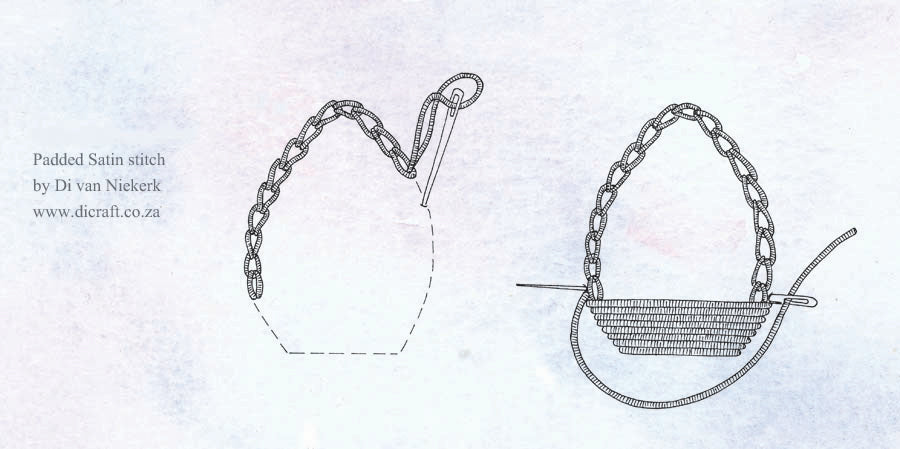
Padded Satin stitch Use for shapes that require a neat, rounded edge. First outline the shape in split or stem stitch, or use back stitch. Cover with satin stitch, making the stitches close together, stitching over the outlined edge for a padded effect. Click on the image to enlarge © 2012 www.dicraft.co.za and www.metzpress.co.za To download the printable version for your collection, click on the line below: [download id="140"]...
A spectacular landscape in ribbon embroidery
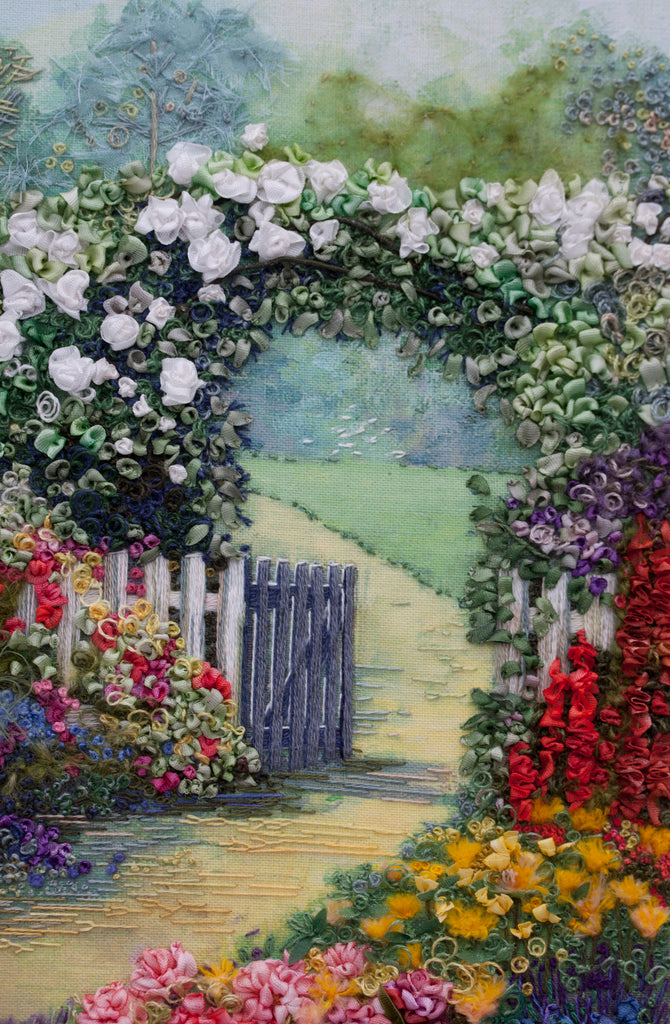
Good morning ◕‿◕ Welcome to 2012! I hope you enjoyed Old Year’s Eve and are ready to get back into the swing of things in 2012.... I have a feeling it's going to be a good year for all of us :) I have something really remarkable to show you to start off the New Year beautifully — a spectacular landscape by Valentina Razenkova from Saint Petersburg in Russia....
HAPPY NEW YEAR!
HAPPY NEW YEAR! Wishing you a PEACEFUL and CREATIVE 2012 ...may the sun always shine on you :))) Click on the image to enlarge Have a great party! See you next year Love Di
Penelope Roses
Penelope Roses by Helen Eriksson Hi everyone, hope you all had a good week and all ready for the weekend and the big party ahead! Today I have something special to show you… Penelope Roses by the exceptionally gifted ribbon embroiderer: Helen Eriksson from Walkerville, Adelaide, South Australia. Click on the image to enlarge… Isn't it a masterpiece? Close-up detail.... click on image...
Precious Peonies
♫♬♪ Good morning…a beautiful day in Cape Town. I hope you had a good weekend! Today I am sending you precious Peonies from the extremely talented Nigar Hikmet from Yeşilyayla köyü - Düzce in TÜRKİYE Click on the images to enlarge Close-up detail... More detail... Hope this beautiful creation has inspired you today :) Thank you so...
Happy Christmas!
To everyone celebrating Christmas... I wish you and your family a very HAPPY CHRISTMAS! Click on image to enlarge.. Enjoy yourselves... hope your turkey turn out well... and hold thumbs that ours does too :) Love to you Di
A masterpiece from Perm in Russia
It's nearly Christmas and as a special gift for your eyes today.... .... a masterpiece in Roses by Lyudmila Deineko (Дейнеко Людмила) from Perm on the banks of the Kama River, in the European part of Russia near the Ural Mountains. Click on the images to enlarge Don’t you think her Roses are magnificent??? Lyudmila wrote to me: “I live in...
French Knot Roses
A French knot rose is ideal for making small flowers and roses. . Use 2, 4 or 7mm silk ribbon or 6mm organza ribbon Wrap the ribbon once or twice around your needle as if you were making a French knot, but instead of inserting needle back into the fabric, gather the ribbon for 3 to 5 cm (I or 2 inches) as shown below… . ◕‿◕ See...
Shop Dicraft
Browse Dicraft
General Info
Get regular newsletters packed with tips, specials and new products!
Copyright © DI VAN NIEKERK. ALL RIGHTS RESERVED.


