# Type at least 1 character to search # Hit enter to search or ESC to close
Cart
FREE SHIPPING for all orders over $200 ♡♡♡
Welcome to my Blog. This a place to share and learn all things embroidery. Here I post inspirational stories and free lessons in the form of tutorials and guides. I also share tips, tricks and teach stitches and techniques.
You will also find free patterns and designs for you to unlock your creativity. It is a great place for any creative looking to learn or find inspiration in this art form.
To stay in the loop with Dicraft you can subscribe to my newsletter and stay in touch on Instagram and Facebook.
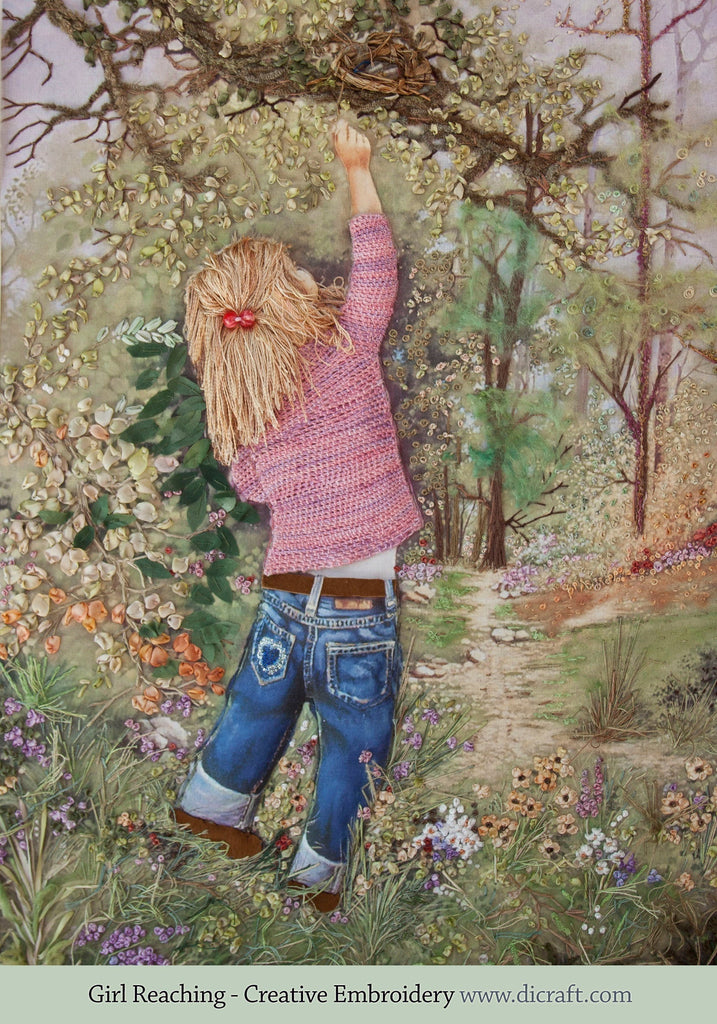
Don't you just love this little girl with her jeans and leather belt? And look at her leather shoes ♥ In Cape Town we have a wonderful leather shop called Woodheads (est. 1867) and we get our leather off cuts from them. I will show you examples of where we used leather in our embroidery. Maybe you too will have some ideas for your embroidery projects. I would love...
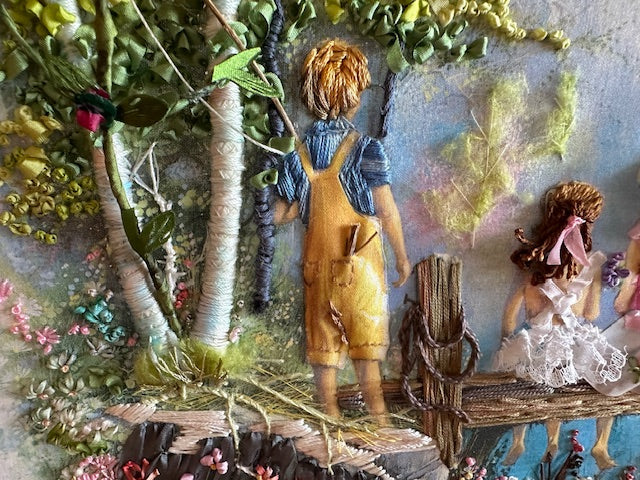
Today, we have a piece titled "Children Fishing" by Sonia Lacson from Sarasota, Florida, USA. Sonia purchased the Children Fishing kit from us, here at Dicraft in Cape Town, and created this masterpiece. The design features outstanding dimension, showcasing her skill in dimensional embroidery. . . . I asked Sonia to share her embroidery story. She replied: “My name is Sonia Lacson, and I was born in...
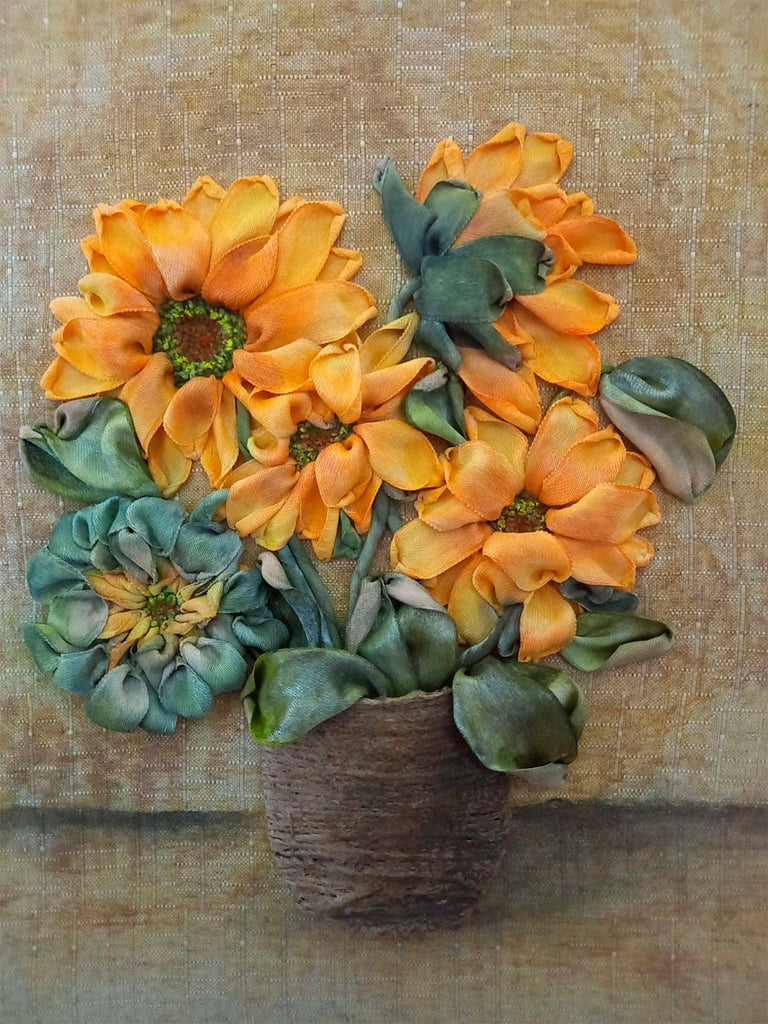
. . Hi, stitching world, I have some lovely pieces to show you today! By Svetlana Bell from Münster in Germany. Svetlana wrote: “I love different kinds of embroidery, especially silk ribbon embroidery, because it gives a very nice volume effect. When I saw your works at the first time, I was very impressed. They are very gorgeous. Then I bought your book and started to learn a new...
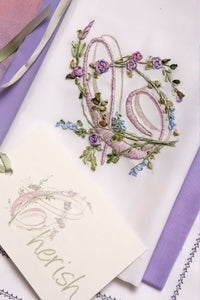
. . Hello Stitching Friend! I have some inspiring news regarding our best-selling needlebook series. Don't miss out on the chance to embark on a creative journey that's been carefully crafted with passion and inspiration. "A Magical Spring" is the second in our popular needlebook series. Along with all that you need, you will find detailed photos and instructions that I wrote step-by-step. These are for you to easily...
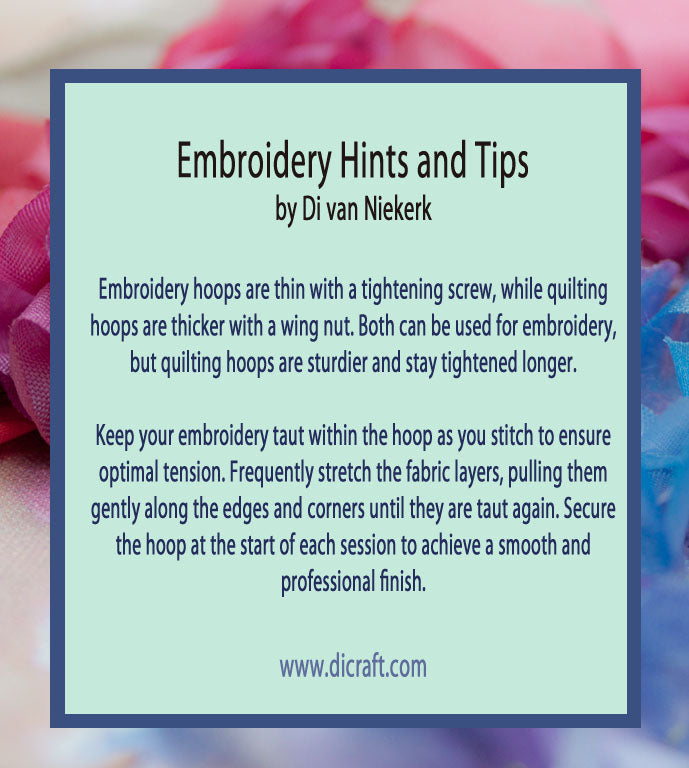
Did You Know? Embroidery hoops are thin with a tightening screw, while quilting hoops are thicker with a wing nut. Both can be used for embroidery, but quilting hoops are sturdier and stay tightened longer. Keep your embroidery taut within the hoop as you stitch to ensure optimal tension. Frequently stretch the fabric layers, pulling them gently along the edges and corners until they are taut again. Secure...
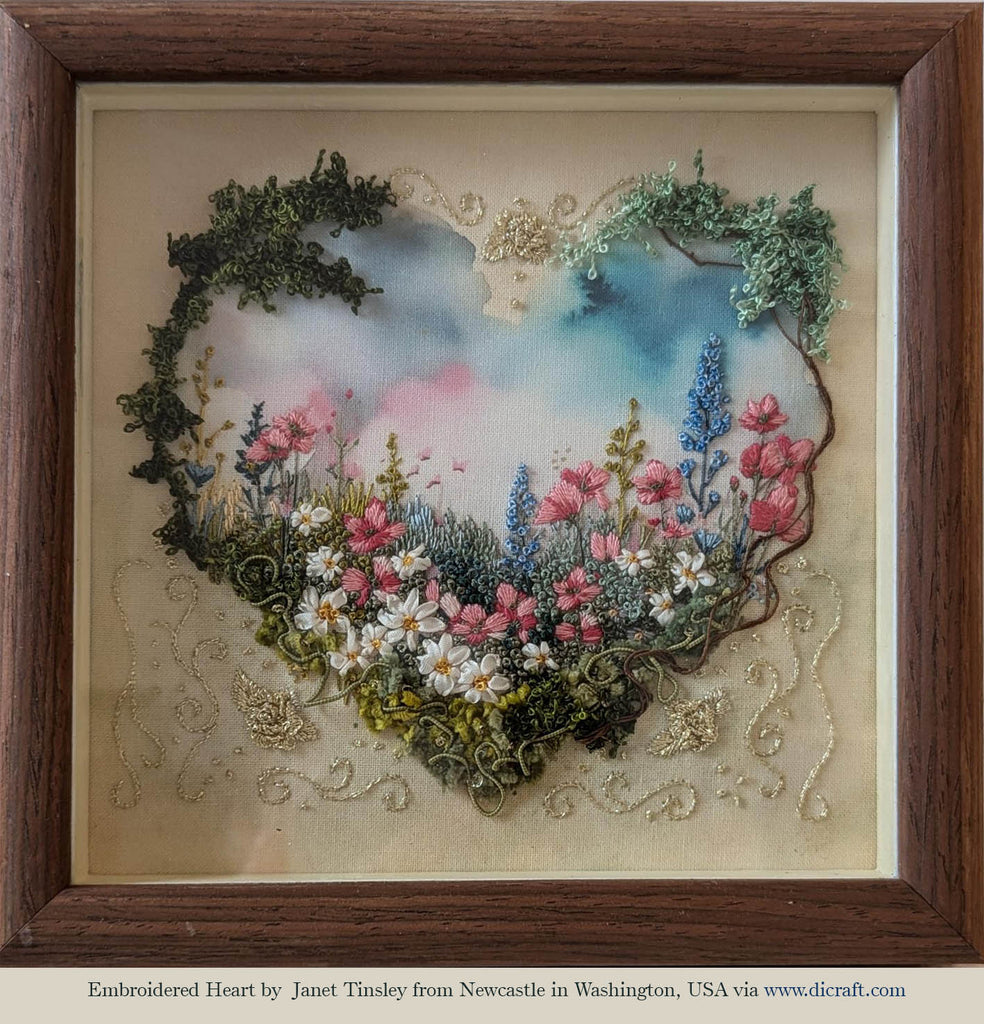
♡ Hello, stitching friends! Today, I have something truly special to share with you – a stunning heart design by the talented Janet Tinsley from Newcastle in Washington, USA. Janet participated in our Embroidery Heart Challenge, and her piece truly deserves first prize! Congratulations, Janet – this masterpiece is something to be incredibly proud of ♡♡♡ Janet shared, “Last summer, I came across your heart challenge and ordered one...
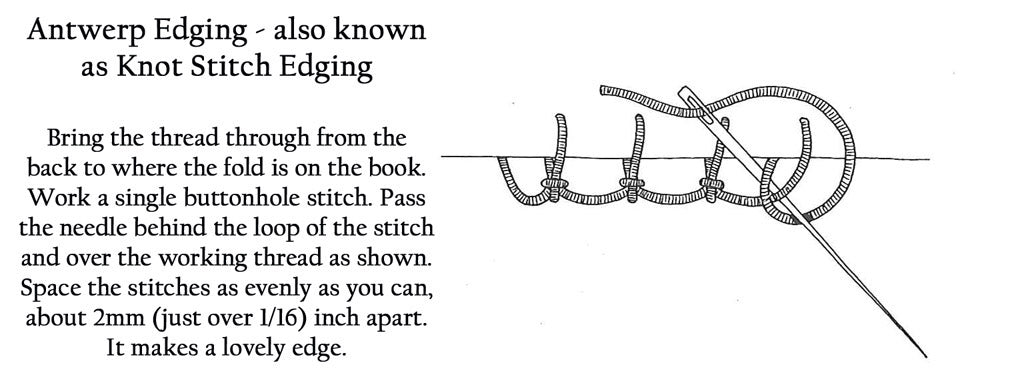
Bring the thread up from the back (or somewhere hidden in the folds). Work single buttonhole stitch. Pass the needle behind the loop of the stitch and over the working thread as shown. Space the stitches as evenly as you can, about 2mm (just over 1/16") apart. It makes a lovely edge.
Slip Stitch is used to attach shapes to the background. Use 1 or two strands of matching cotton or silk and make neat and even stitches for a good finish.
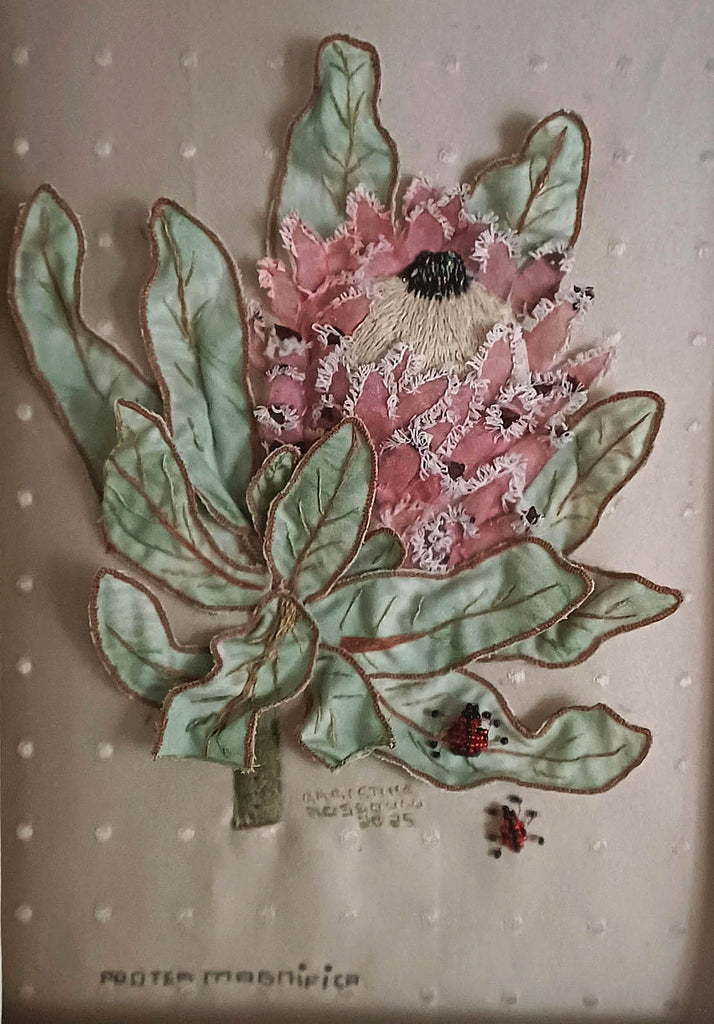
. Hi Stitching friends, today I have some beautiful embroidered Proteas to show you by the talented Christine Rossouw! . These are three Proteas in a row. Close-ups of the single pictures follow... , . . The close-ups of each picture... Aren't they gorgeous? . . Protea Magnifica . . .Protea Comptonii . . Protea Speciosa I asked Christine to tell us more about herself and her journey into...
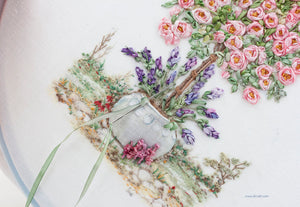
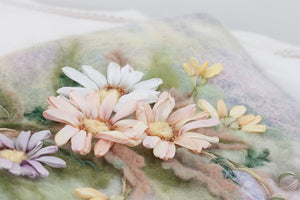
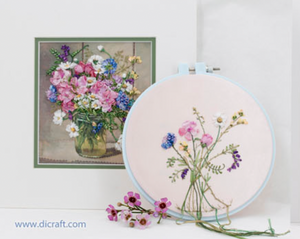
What's New? We have two new ribbon embroidery kits for you. Both designed to encourage creativity. Suitable for all levels, the step-by-step instructions and the colour pictures will show you how...
Get regular newsletters packed with tips, specials and new products!
Copyright © DI VAN NIEKERK. ALL RIGHTS RESERVED.
Added to cart successfully!