
# Type at least 1 character to search # Hit enter to search or ESC to close
Cart


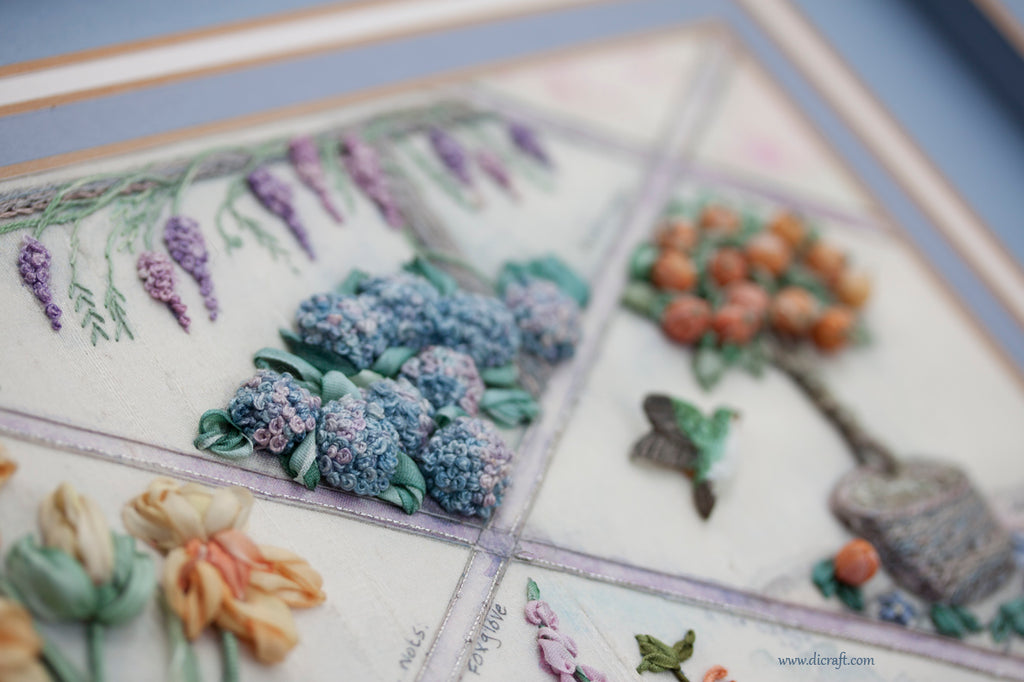
 For interesting dimensional flowers, stumpwork Hydrangeas are ideal. The Hydrangeas are made separately and then attached to the main design. They are easy to make and I will show you how to make these with French knots.
Hint: You could use beads instead of French knots to make beautiful berries.
1.Refer to the drawing below as a guide, trace circles (including the serrated lines) onto a separate piece of white, blue, pink or green fabric with a 2B pencil or blue water-soluble pen.
2. Insert the fabric into a hoop.
For interesting dimensional flowers, stumpwork Hydrangeas are ideal. The Hydrangeas are made separately and then attached to the main design. They are easy to make and I will show you how to make these with French knots.
Hint: You could use beads instead of French knots to make beautiful berries.
1.Refer to the drawing below as a guide, trace circles (including the serrated lines) onto a separate piece of white, blue, pink or green fabric with a 2B pencil or blue water-soluble pen.
2. Insert the fabric into a hoop.
 3. Stitch the circles
Use six-strand cotton or silk thread — blue, pink, violet and lavender are good shades to use.
3. Stitch the circles
Use six-strand cotton or silk thread — blue, pink, violet and lavender are good shades to use.


 6. Gather the circles
 7. Stitch the flowers onto your design

 Use 7mm silk ribbon and make leaves with detached chain stitch and or ribbon stitch. Make some stitches that are loose and puffed for an interesting effect. To do this: use a very gentle tension as you form the stitch.
VOILÀ!
This Hydrangea panel is from the flower sampler in my RES book — an ideal book for the beginner to silk ribbon embroidery or stumpwork. Here is the complete sampler:
Click on the image to enlarge
Use 7mm silk ribbon and make leaves with detached chain stitch and or ribbon stitch. Make some stitches that are loose and puffed for an interesting effect. To do this: use a very gentle tension as you form the stitch.
VOILÀ!
This Hydrangea panel is from the flower sampler in my RES book — an ideal book for the beginner to silk ribbon embroidery or stumpwork. Here is the complete sampler:
Click on the image to enlarge
 I hope you enjoyed this tutorial… soon I will show you more little tricks. Subscribe and receive e-mail updates as soon as I post a new tutorial.
Enjoy the rest of your day. I am going to work on my new design and I will show you soon!
Happy stitching
Love
Di
♥
I hope you enjoyed this tutorial… soon I will show you more little tricks. Subscribe and receive e-mail updates as soon as I post a new tutorial.
Enjoy the rest of your day. I am going to work on my new design and I will show you soon!
Happy stitching
Love
Di
♥
Get regular newsletters packed with tips, specials and new products!
Copyright © DI VAN NIEKERK. ALL RIGHTS RESERVED.
Added to cart successfully!

Leave a comment