# Type at least 1 character to search # Hit enter to search or ESC to close
Search
Browse by Category
-
-
Silk Ribbon and S...
Apr 05, 2025 -
Beautiful Ribbon ...
Mar 22, 2025
Recent Posts
- April 2025
- March 2025
- February 2025
- January 2025
Blog > About Stitching in a Hoop by Di van Niekerk

I always work on an embroidery frame or hoop. Some embroiderers like to use small hoops but if you learn to stitch in a larger hoop, you can see the entire design whilst you stitch. This helps with choice of colour and texture — one needs to see the bigger picture when deciding on colour and texture, plus the larger hoop does not damage the stitches.
.

Hint About Stitches
All stab stitches, (the stitches made through the fabric) are best embroidered on the hoop. Particularly satin stitch, ribbon, straight or stab stitch, seeding, couching and French knots. The stretched fabric prevents the cloth from puckering out of shape. When stitching on a frame or hoop, work stab-stitch style by taking the needle and thread all the way to the back and coming up again to complete the stitch — this way you are using two steps to make the stitch.
.

Normally you would use one step (by scooping the fabric to form the stitch) but when on a hoop it is best to take the needle and thread to the back before coming up to complete the stitch. Although I find it is best to make all the stitches on the hoop, stab-stitch style, some of the surface stitches, such as chain and stem stitch, can be worked off the hoop: this is a personal choice. See what works for you.
.

.
For wooden hoops, you can prepare your hoop by binding the inner ring with strips of white bias binding or fabric. Wind a full circle and overlap the starting point by three centimetres or one inch. Secure the binding with a few stitches.With this binding, the hoop has a tighter grip, and it helps to protect your embroidery cloth as well.
.

.
Prepare your design for embroidery
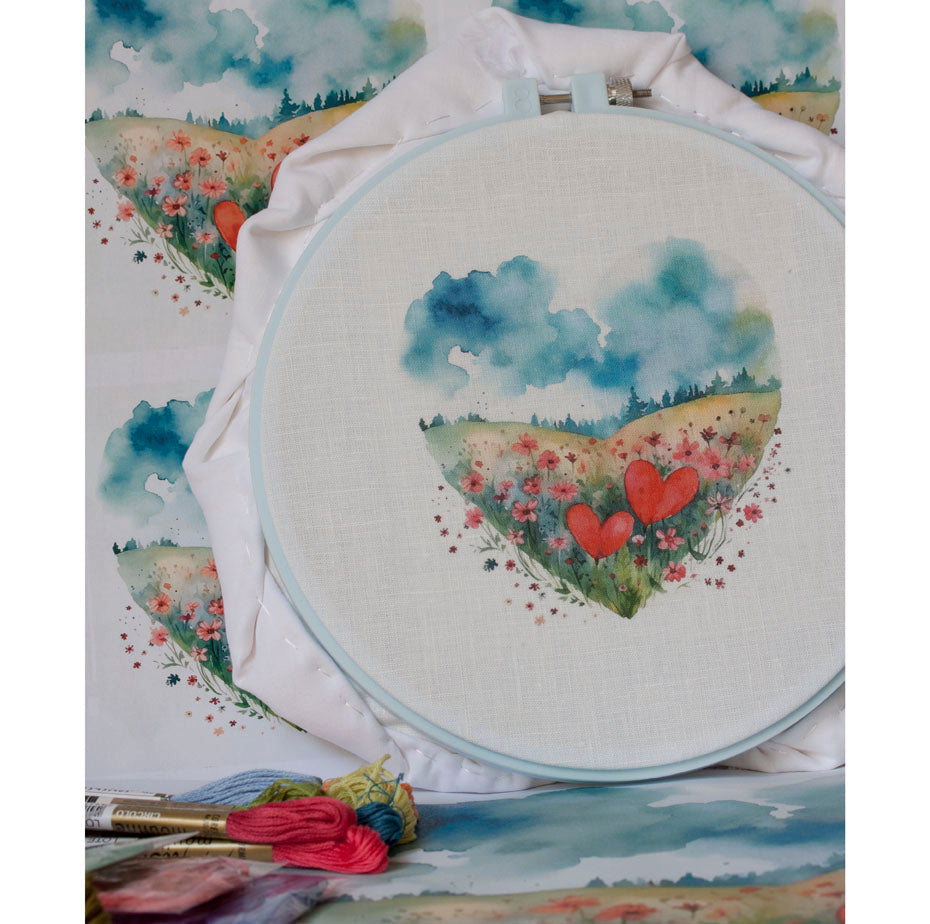
- Place the embroidery panel (right side up) on top of a thin layer of white backing fabric like cotton voile. Insert both layers in the hoop. Tighten the hoop a little and stretch the fabrics as taut as a drum. Check that the backing fabric is wrinkle free and tighten the hoop.
- Roll up the corners of the fabric and pin or tack out of the way — this prevents you from stitching the corners onto the back of the work by mistake.
- Remember to pull the layers tight in the hoop as often as necessary to prevent the cloth from puckering out of shape. Pull all the layers gently along the sides and corners so as not to distort the grain of the fabric. Then tighten the hoop again.
- Place your hoop (stand it up) out of the way when you’re not stitching so no one can place heavy objects on top of your hoop. Cats especially love to sleep on top of hoops!

.
Enjoy your weekend and thinking of everyone who is affected by the terrible floods.
Love
Di
♥
Shop Dicraft
Browse Dicraft
General Info
Get regular newsletters packed with tips, specials and new products!
Copyright © DI VAN NIEKERK. ALL RIGHTS RESERVED.


Leave a comment